Have you ever stared at your ceiling and got excited about changing it? We all have spaces we love and sometimes just a small change can make a big difference. This guide will help everyone, from beginners to those improving their skills.

With the best painting tips and some prep, we can start this project. Together, we’ll get a perfect finish that makes us proud. Let’s start learning how to paint our ceiling like a pro!
Introduction to Painting Your Ceiling
Painting a ceiling boosts the look of our rooms a lot. It might seem hard to paint such a big area. But, the effect of new ceiling paint on your space is huge. An old or bad ceiling makes even new walls look incomplete.
Putting time and effort into ceiling painting renews our spaces. It also makes them brighter and more welcoming. This change lets us match colors well, adding beauty and style. Choosing white gives a clean look. Bold colors add interesting visuals. Ceiling paint is key in home design.

Why You Should Paint Your Ceiling
Painting your ceiling has many great benefits for your home. One big plus is the fresh, clean look it gives. A newly painted ceiling makes the room look bigger by drawing the eyes up.
Choosing the right colors can make a room look better. It can match or contrast with your decor. This lets us make our homes more personal and welcoming. Paint also hides flaws and stains, giving rooms a fresh start.
So, painting ceilings is about more than just looks. It can also raise your home’s value. Let’s take this chance to make our spaces more welcoming.
Essential Tools and Supplies for Ceiling Painting
To get a pro finish on your ceiling, it’s key to pick the right paint and gear. Choosing wisely means a better chance of success. Flat paints are top picks because they hide flaws and don’t shine much. Benjamin Moore’s Waterborne Ceiling Paint is a favorite for its high quality.

Recommended Paint Types
Flat finish paints are best for ceilings. They cover well and look even. Some great choices include:
- Benjamin Moore Waterborne Ceiling Paint
- Behr Premium Plus Interior Ceiling Paint
- Sherwin-Williams Ceiling Paint
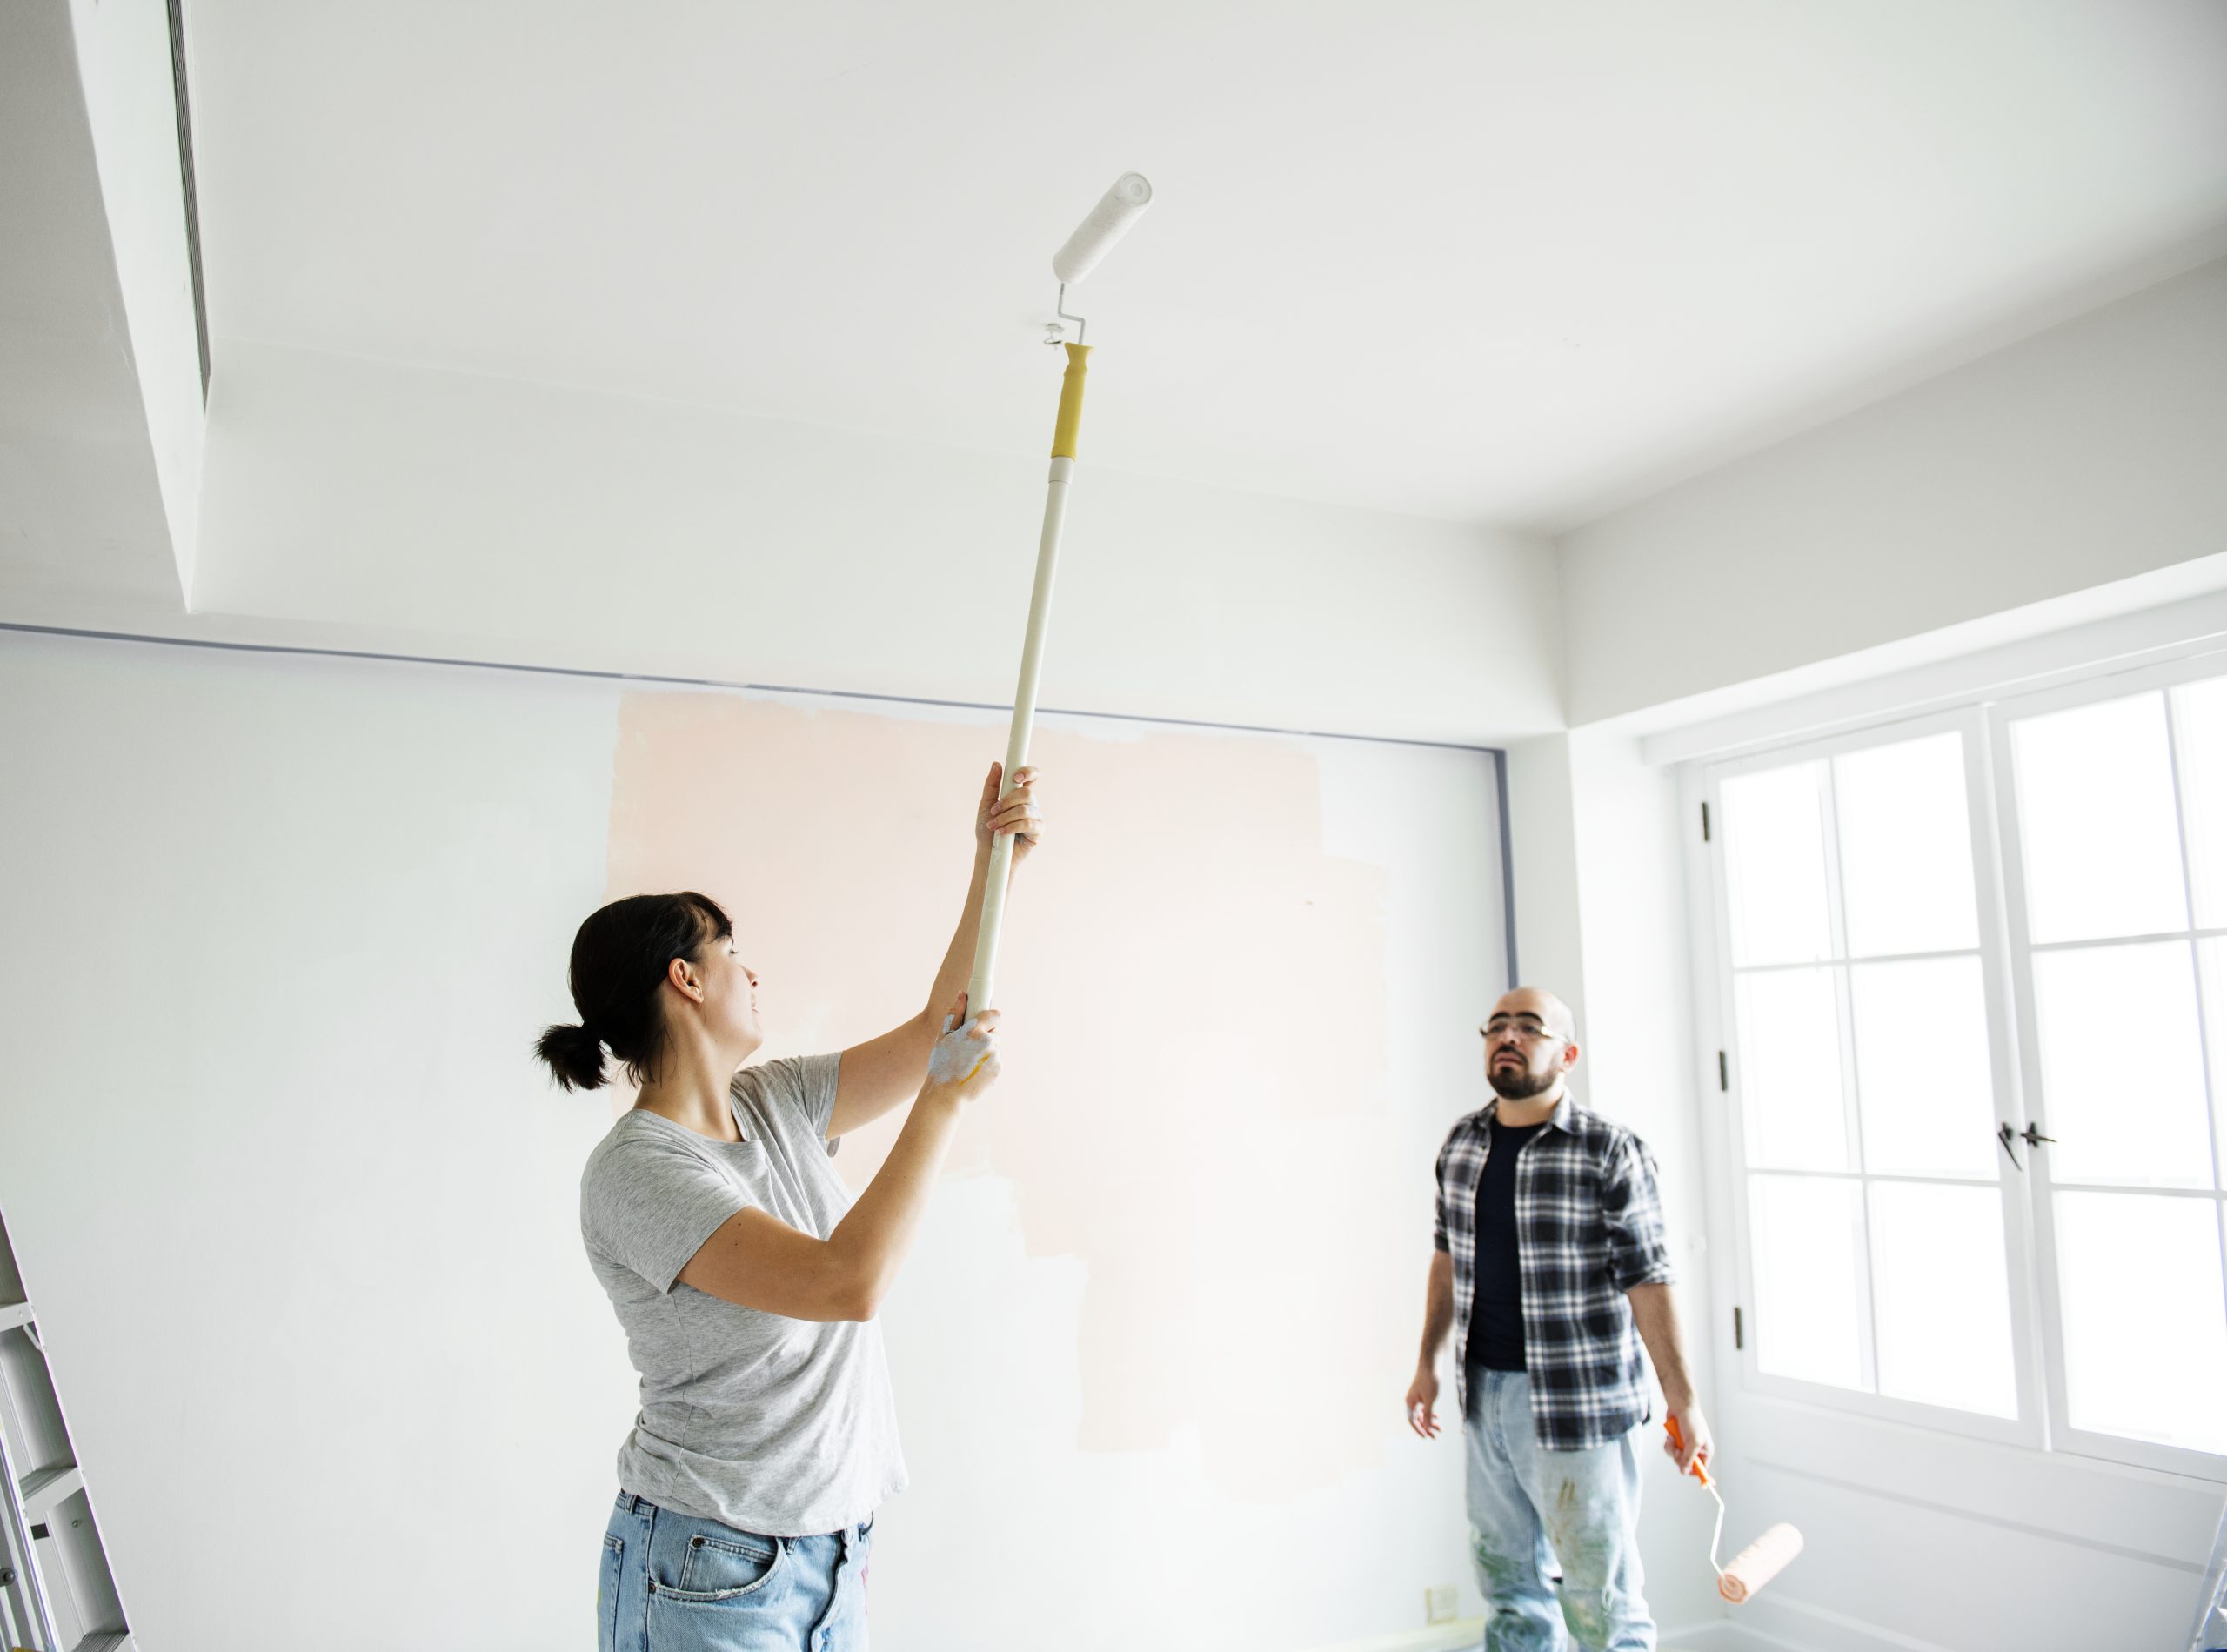
Must-Have Equipment
For an efficient ceiling paint job, certain tools are essential. Here’s what you’ll need:
- 2-3 inch paintbrush for edges
- 3/4-inch nap roller for a smooth coat
- Roller extension pole for high places
- Ladder to safely reach up
- Painter’s tape for sharp edges
- Paint tray for easier use
With the right paint choices and these key tools, you’re all set to do a fantastic job on your ceiling.
Preparation: Clearing the Space
Before painting our ceiling, preparing the room is crucial for a smooth experience. Taking time to clear the room now will save us headaches later. An organized workspace lets us move freely and access tools without hassle.
Removing Furniture and Protecting Floors
We should move out as much furniture as we can. This protects our stuff and makes room to work. Cover any remaining furniture with drop cloths. Also, lay down canvas or plastic on the floors to catch any paint drops, making cleanup easier.
Using Drop Cloths and Plastic Sheeting
Drop cloths are vital for protecting furniture and floors. They should be placed around the room’s base and anywhere paint might drip. Using plastic sheeting is smart for messy paint jobs. Taking these steps ensures a smooth and successful painting process.
Preparing the Ceiling for Painting
Getting ready to paint the ceiling? There are some key steps to take. These steps make sure the ceiling looks great. By cleaning the surface well and using the right primer, you’ll see the best outcome.

Cleaning the Surface for Better Adhesion
First, we need a clean ceiling before painting. Dirt and spider webs can mess up the paint’s stickiness and look. Clean it with a wet cloth and use a soft cleaner for tough spots.
If there are water marks or old paint colors showing, a stain-blocking primer will cover them. Doing this first ensures the paint will last longer and look better.
Using Primer for a Flawless Finish
Choosing a good primer makes a big difference. It helps the paint go on smoothly and stops old colors from showing through. Brands like British Paints® PREP 4in1™ are great options. They do several things at once to improve painting.
Applying a primer sets up a strong start. It means we won’t run into unexpected problems when we begin to add color.
Step-by-step guide to painting your ceiling like a pro
To paint your ceiling well, start with cutting in around the edges. Use a top-notch angled brush for a precise line. This step is key for a smooth look.
Then, move on to rolling the paint. Pick a roller that suits your ceiling. Begin in one corner and go across. Make sure to keep the edge wet to avoid lines.

Letting the paint dry after the first coat is essential. Wait for it to dry fully before adding another coat. Check the paint can for drying times.
Work in sections to keep things simple and even. Finish one section before moving to the next. This method helps us paint like pros and refresh our space.
Techniques for Cutting In and Rolling
Painting our ceiling the right way means getting good at cutting in and rolling. These skills help us get that professional, smooth look. By learning the best ways to paint, we can make our work stand out and feel proud of it.
How to Cut In Around the Edges
To paint along the edges neatly, start by picking a top-notch angled brush. This brush helps us paint with precision. After dipping the brush lightly in paint, we start near the corner. We aim for a clean line by the ceiling.
Keeping our hand steady is vital to avoid messy walls. Slow and careful moves make a big difference in the look of our ceiling.

Best Practices for Rolling the Ceiling
With the edges done, it’s time for rolling. Choosing a roller with the right nap length for our ceiling is crucial. We paint in an ‘M’ shape for even coverage without streaks. This way, we roll in sections and keep the paint smooth.
Doing this not only saves time but also makes the ceiling look much better.
Managing Paint Application
When painting a ceiling, how you apply the paint is key to a perfect look. Starting off, it’s important to evenly apply the initial coat. These tips can really help improve your project.
Applying the First Coat Effectively
Begin by painting the edges. This helps with precision around walls and corners. Then, tackle the center areas with a roller for faster coverage. Make sure the paint goes on evenly to prevent streaks.
Timing and Knowing When to Apply a Second Coat
After the first coat, waiting is crucial. Most paints need 1-4 hours to dry, but always check the label. Once it’s dry, decide if a second coat is needed. Sometimes, for darker or uneven ceilings, another coat helps. This step is important for a great look and long-lasting paint.
Post-Painting Cleanup
After painting, it’s important to clean up well. This means our hard work really pays off. We need to take away painter’s tape, wash our tools, and check the ceiling. This helps us enjoy our fresh paint without a mess.

Removing Painter’s Tape and Cleaning Supplies
When we take off painter’s tape, timing is key. It’s best when the paint isn’t fully dry for smooth lines. If we wait too long, we might get rough edges that need fixing. Then, washing brushes and rollers quickly stops paint from drying on them. This saves our tools and makes cleanup easier.
Inspecting for Touch-Ups
After we finish the main cleanup, we should check the ceiling. We look for spots we missed or that need extra paint. It’s best to do this before the paint sets to avoid problems. A careful check now means less work fixing mistakes later. And we end up with a ceiling that shows our effort.
Final Touches for a Professional Finish
For a top-notch ceiling finish, focus on the final touches. Paying close attention to detail can make the ceiling look its best. Follow these tips to get a perfect, seamless ceiling without flaws.
Tips for Minimizing Streaks and Drips
Avoid overloading your roller with paint to prevent streaks and drips. It’s better to use a roller tray to help control the paint amount. Also, painting in sections and watching the edges closely helps ensure a smooth finish.
Patience is essential to achieve the professional look you want for your ceiling.
How to Enhance Overall Appearance
After the paint dries, look for places that need touch-ups. A small brush can fix any misses or uneven spots. Also, pick a ceiling color that goes well with the room.
Think about the room’s lighting and decor. This care for detail adds to our space’s look, making it polished and welcoming.
Conclusion
Painting your ceiling might look tough, but with the steps we’ve given, a perfect finish is possible. This work refreshes our area and boosts our DIY confidence. It shows us that with some effort, anyone can paint a ceiling well.
It’s important to keep our ceiling well-maintained to keep our room looking great. This space is ours, and we can make it better by working on it. To wrap up, let’s use these tips to improve our home care skills.
FAQ
What type of paint should I use for my ceiling?
For your ceiling, choose a flat ceiling paint to reduce reflections and hide flaws. Benjamin Moore’s Waterborne Ceiling Paint is a great choice.
How do I prepare the room for painting the ceiling?
Start by removing all the furniture. Then cover any left items with drop cloths. Always protect the floor with canvas drop cloths or plastic to prevent paint splatters.
What is the best technique for cutting in around the ceiling edges?
Use a brush to neatly paint the edges where the ceiling meets the wall. Go 2-3 inches in for clean lines.
How long does it take for ceiling paint to dry?
Drying times vary, but let the first coat dry for 1-4 hours before adding another.
How can I avoid streaks when painting my ceiling?
To avoid streaks, don’t put too much paint on the roller. Work in small sections, keeping a wet edge.
When is the best time to remove painter’s tape?
Remove the tape when the paint is a bit wet for the sharpest lines.
What should I do if I notice missed spots after the ceiling has dried?
For missed spots, touch up after the ceiling dries using the same paint for a flawless look.
Can I use a roller to paint a textured ceiling?
Yes, pick a roller with the right nap length for your ceiling’s texture. A 3/4-inch nap roller works well for texture.
Is it necessary to use a primer before painting a ceiling?
Apply a stain-blocking primer for stains or over previously painted ceilings to improve adhesion and smoothness.