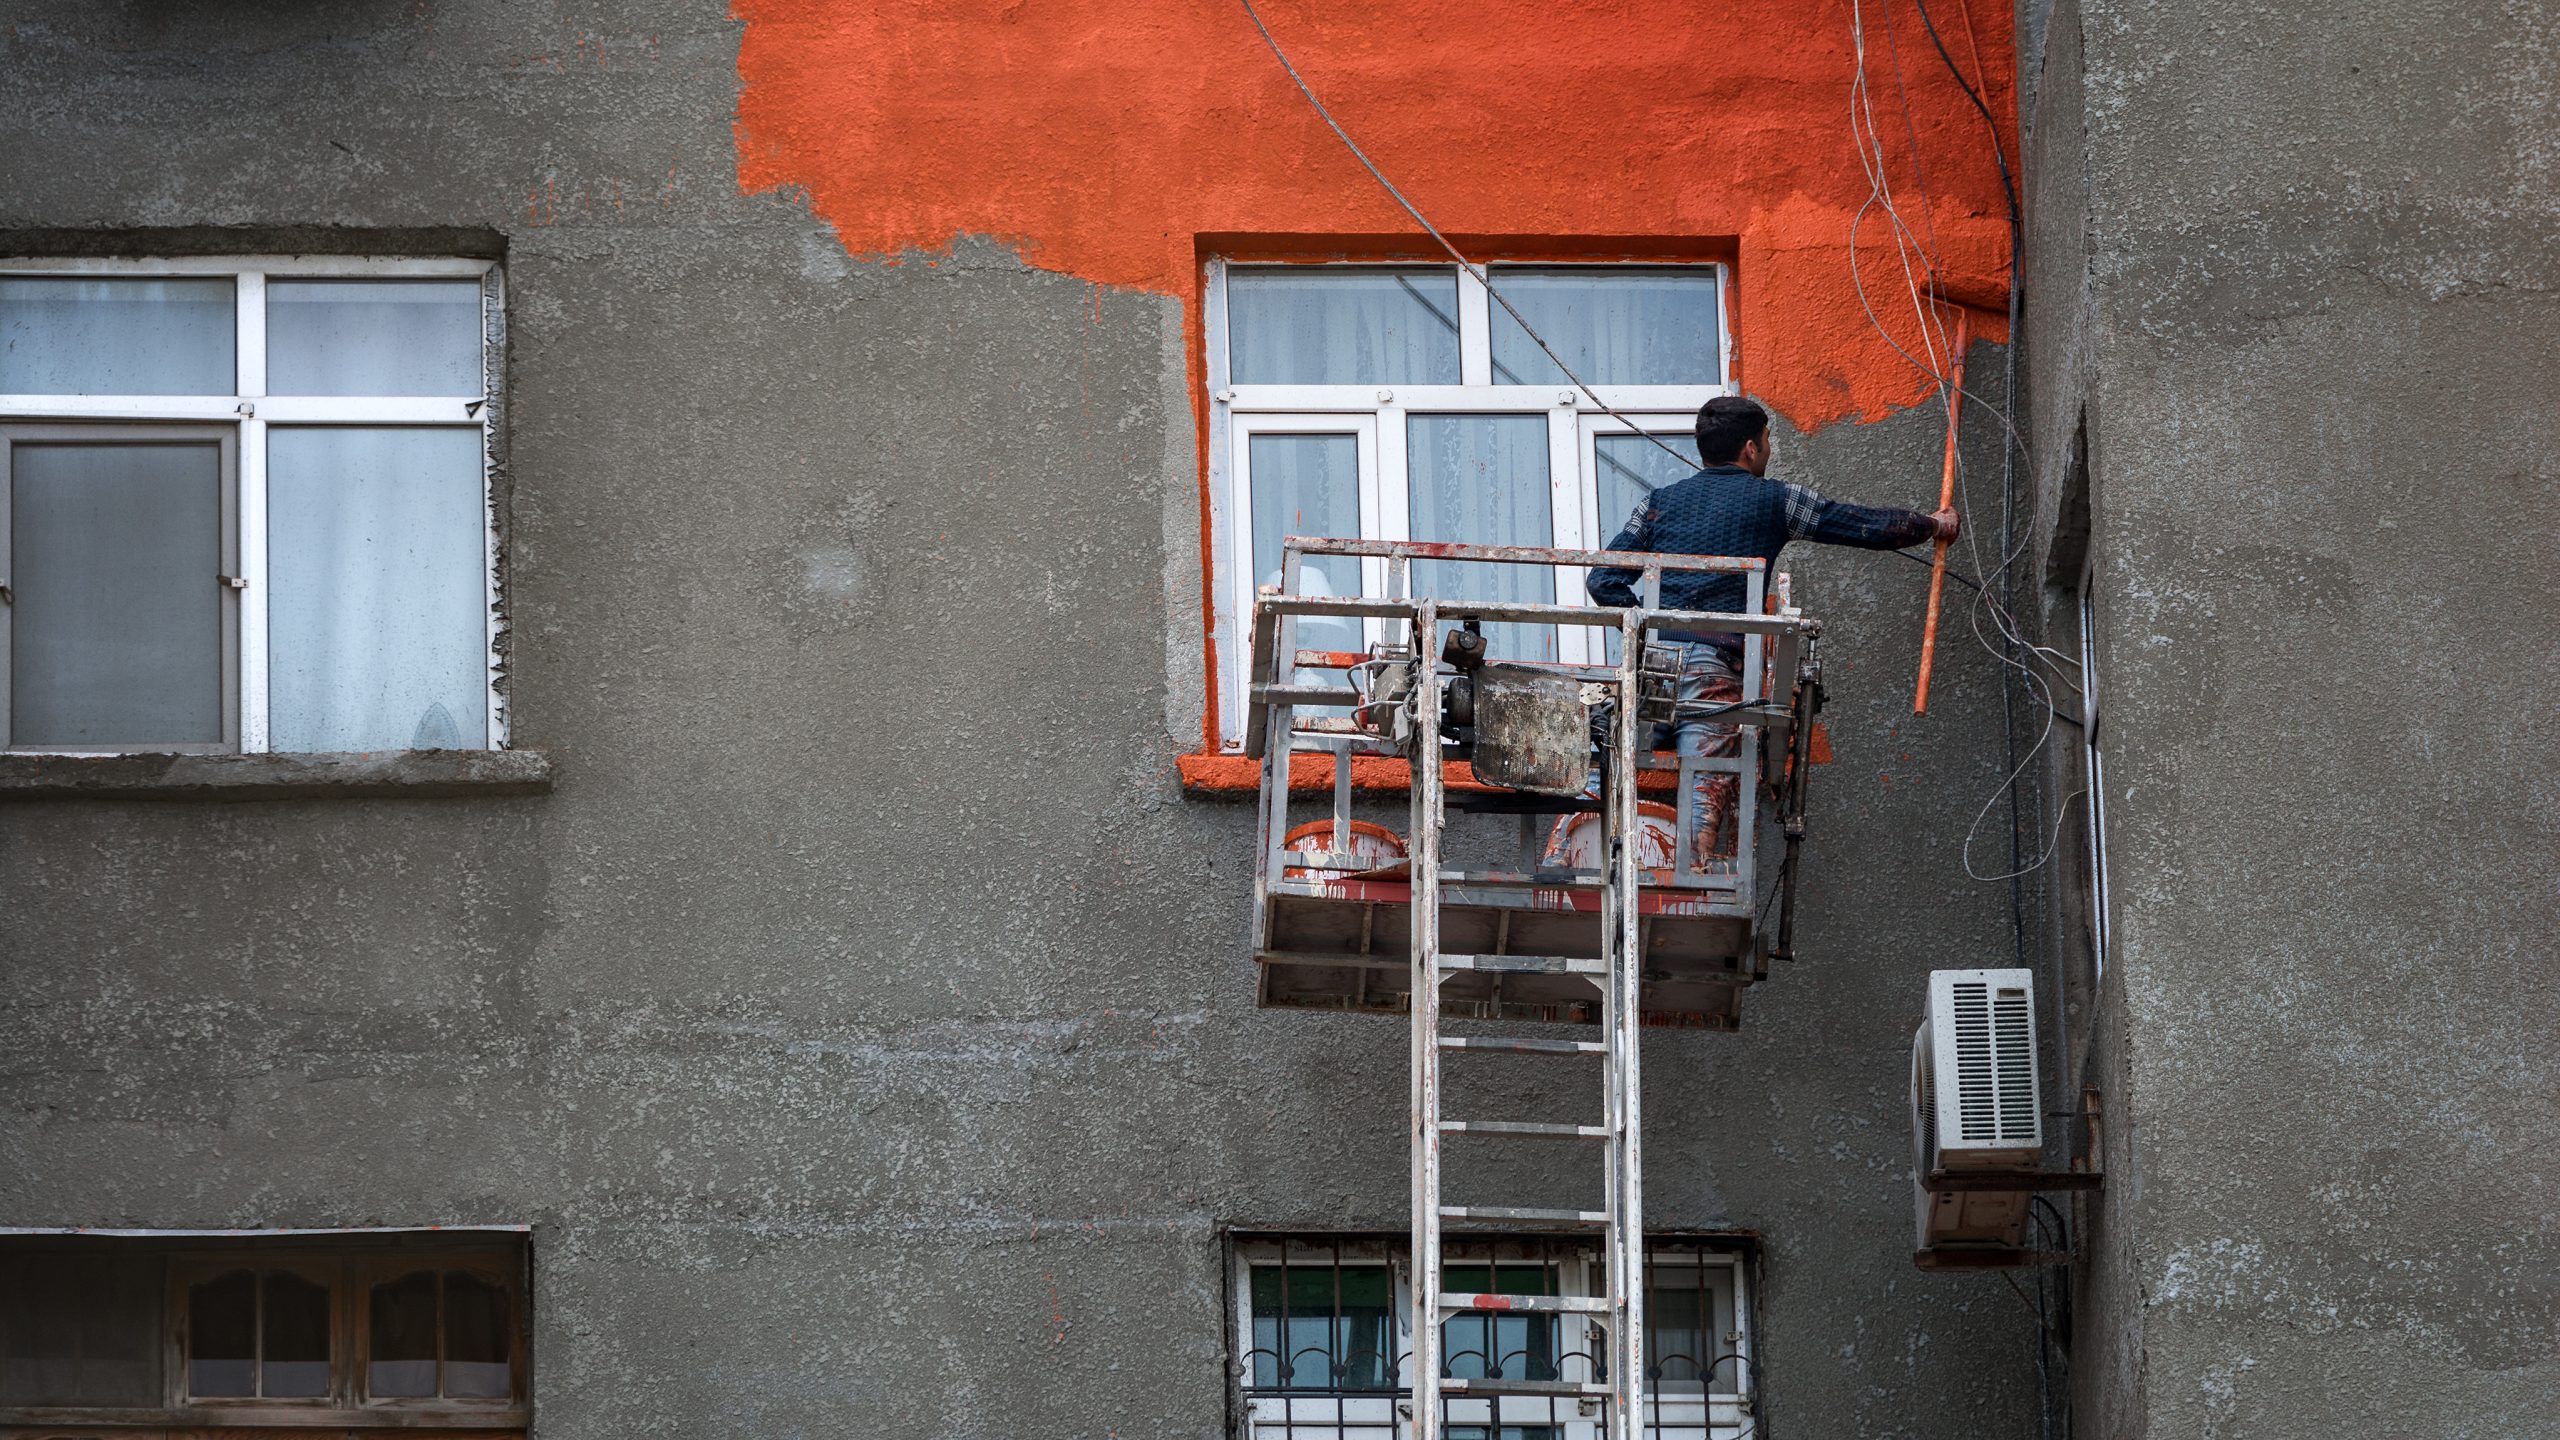
Prepare Your Exterior Walls for House Painting: Ever wondered why some exterior walls in South African homes look fresh and vibrant while others fade and peel quickly? The secret lies in the preparation before painting. Proper prep work ensures the paint adheres better, resists peeling, and creates a smooth, flawless finish. Let us guide you on how to prepare your walls to ensure a long-lasting and stunning paint job.
Understanding the Importance of Preparing Exterior Walls for Painting
Before painting, we need to understand how crucial it is to prepare our walls correctly. This thorough prep work makes the paint look better and stick properly. If we don’t prepare right, we might encounter problems like paint peeling or bubbling.
Such issues not only ruin the look but can also cost us more time and money later.
Key factors in this preparation include:
- Removing dust and debris
- Ensuring a clean surface free of any contaminants
It’s critical to have a clean surface because dirt stops paint from sticking well. Cleaning well before we start means our paintwork will last longer and look amazing. By dedicating time to proper preparation, the transformation of our home will be both durable and beautiful.
The Best Time to Paint Your Home
To get the best results, paint your exterior walls during the dry season. This time usually has lower humidity, which helps avoid painting problems caused by rain. Low humidity is perfect for making paint dry well.
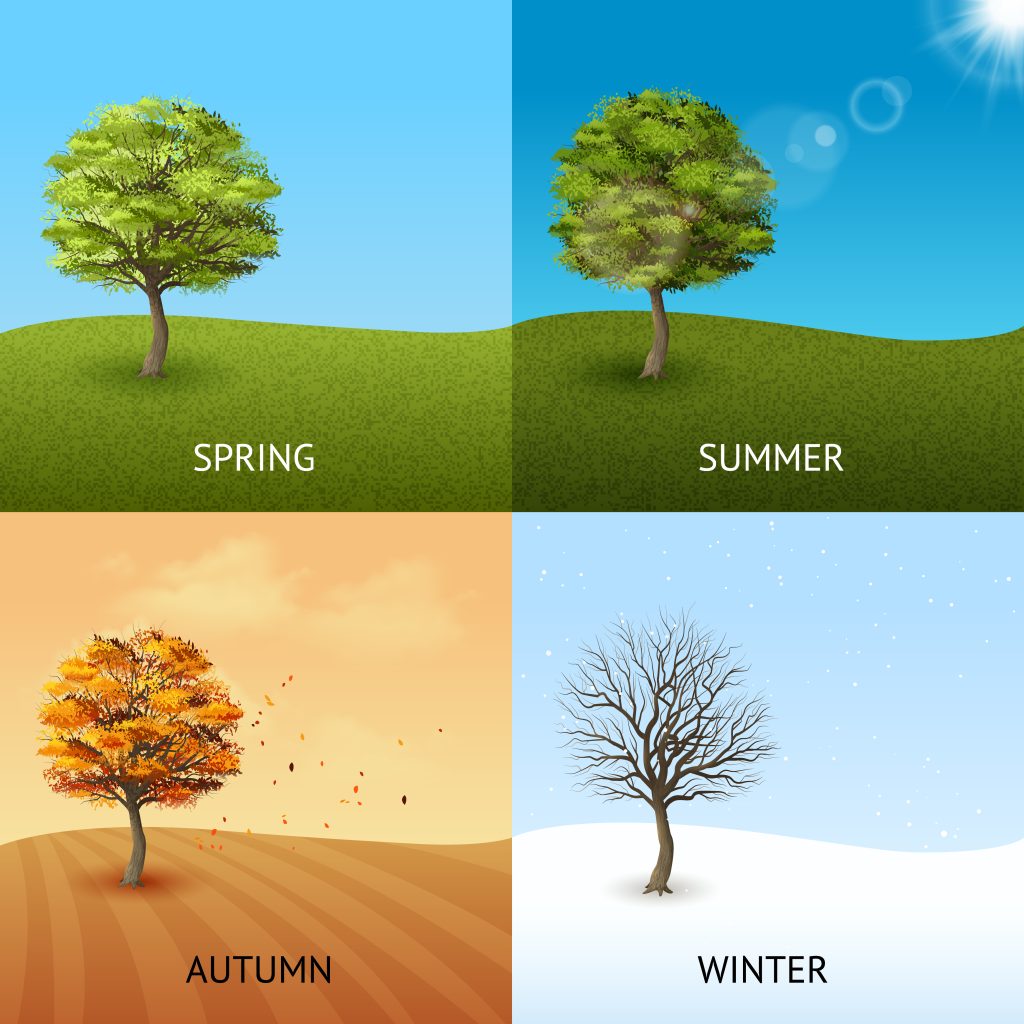
Mild weather means paint dries best. This weather helps the paint stick better and last longer. If we paint when it might rain, the paint could peel or bubble. By planning, we can paint our homes at the best time for a great look that lasts.
Gathering Essential Tools and Materials For Paint Job
Before we start painting our exterior walls, gathering all the necessary tools and materials is key. This ensures a smooth process from start to finish. By being prepared, we can work without stopping and get things done efficiently.
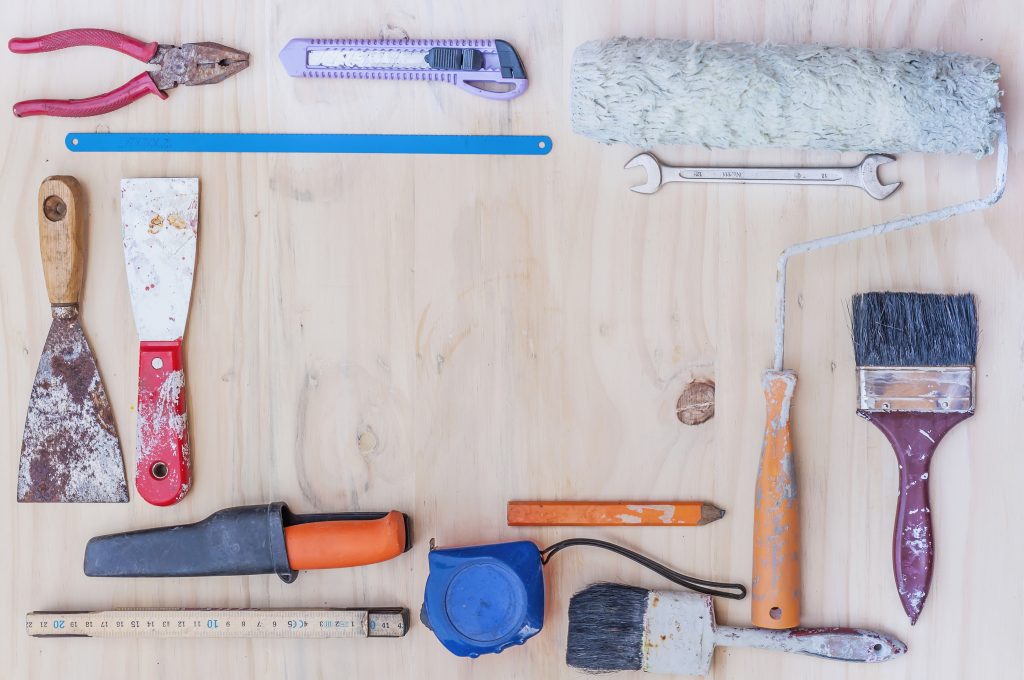
Here’s a list of must-haves for our project:
- Ladders for reaching high spots safely
- Drop cloths to protect our landscaping and surfaces
- Various grades of sandpaper for smoothing surfaces
- A scraper for removing any peeling paint
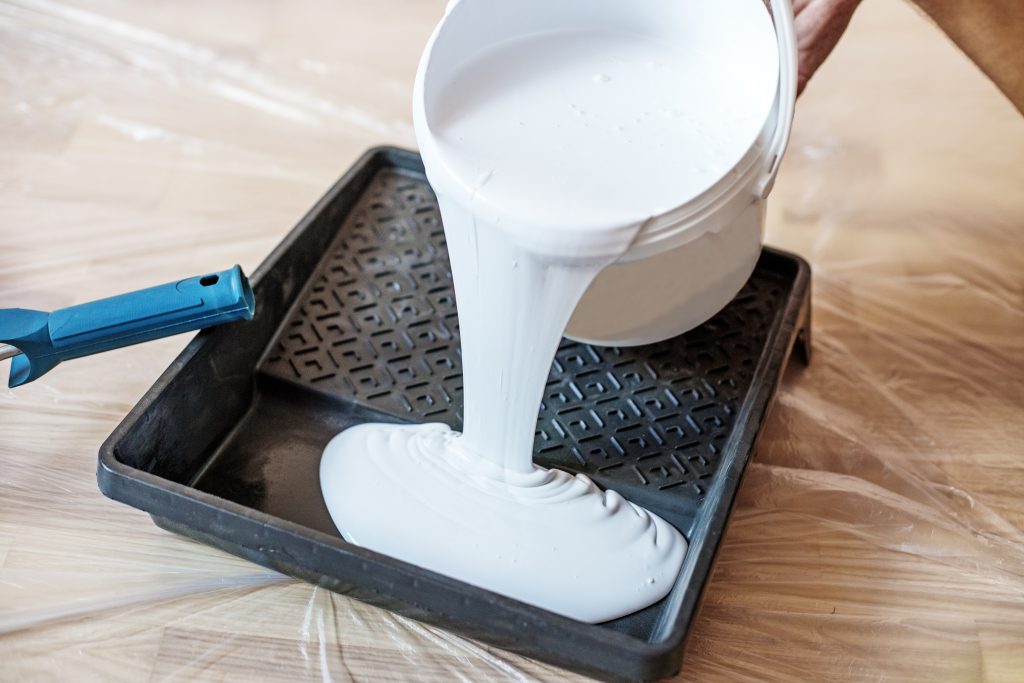
- Brushes and rollers for applying exterior paint evenly
- High-quality exterior paints that suit our desired finish
- Bonding liquids to enhance adhesion
Consider using a high-pressure cleaner for heavily soiled walls or mildew. Preparing surfaces well leads to a proud finish. The right tools and materials are our first step towards success.
Cleaning Your Exterior Walls for Painting
Cleaning our exterior walls is crucial before painting. It helps new paint stick well and look great. We use a mix of water and gentle detergents to remove dirt, mildew, and other residues.
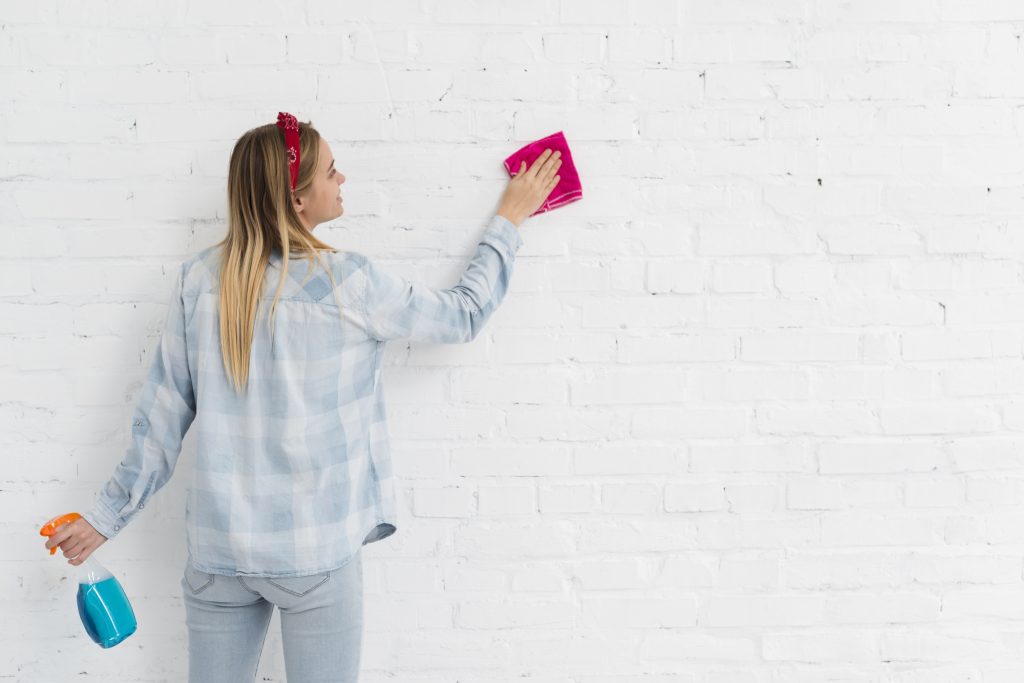
Utilizing Clean Water and Detergents
We suggest a gentle detergent like sugar soap mixed with water for scrubbing walls. This mixture cuts through grime and mildew, which can affect paint sticking. After scrubbing, rinse the surfaces well to avoid detergent residue. Leftover detergent can block the new paint from sticking.
Using a High-Pressure Cleaner for Efficient Cleaning
A high-pressure cleaner works great for cleaning exterior walls fast. It washes away dirt and old paint layers safely. Just keep it about 12 inches from the wall to prevent damage. After cleaning, let the walls dry fully. Dry walls make sure paint sticks better later on.
Identifying and Repairing Damages
Before starting to paint, we must check our outside walls for any damage. Finding problems like cracks, holes, or peeling paint early on makes fixing them easier. This leads to a smoother painting surface.
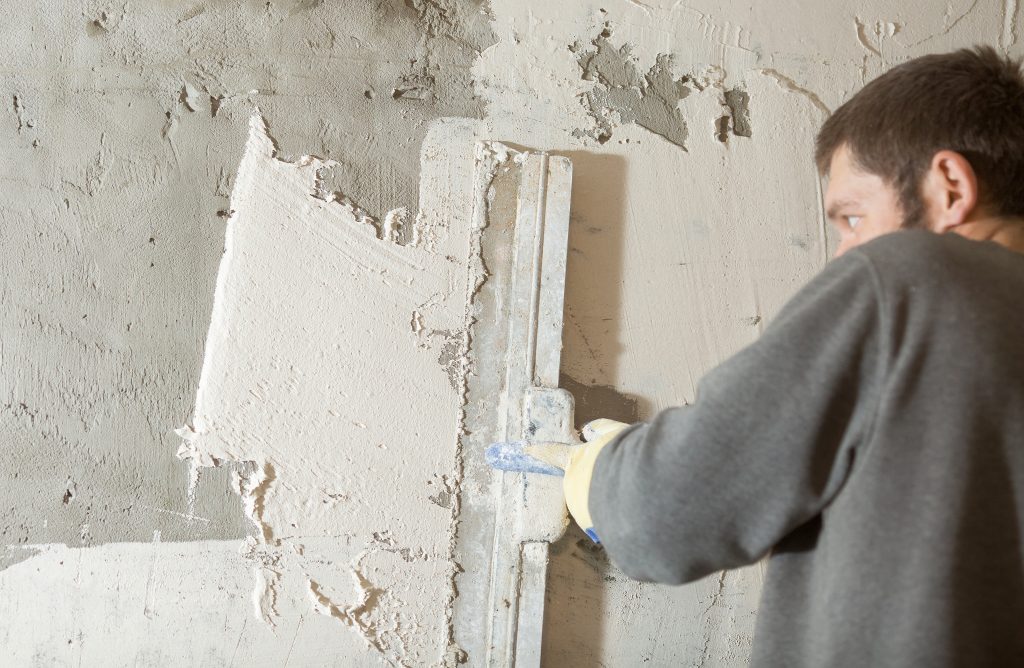
Filling Cracks and Holes with Exterior Crack Filler
To fix structural flaws, we use exterior crack filler for filling cracks and holes. This gives us an even surface for painting and helps the paint stick better. We need to clean the area well before putting on the filler.
After applying the filler, we wait for it to dry completely before moving forward.
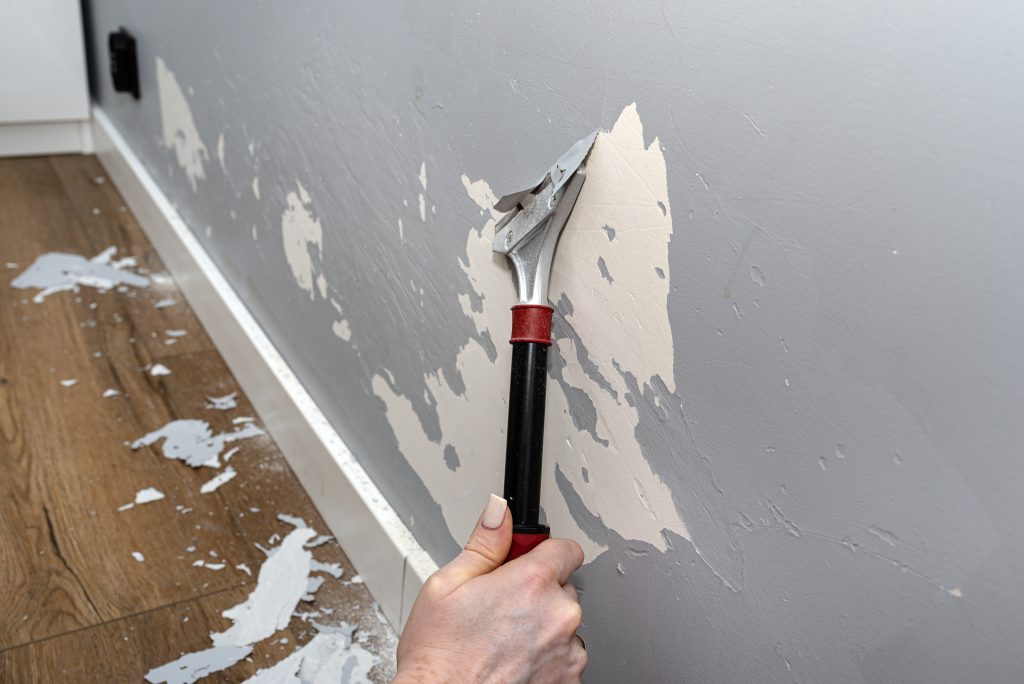
Using a Scraper to Remove Loose Paint
Then, we take off any paint that’s loose or peeling from the walls. A scraper makes this task easier and is key to a successful paint job. Once scraping is done, we clean off any dust or leftovers.
Preparing New vs. Existing Paint Surfaces
When getting ready to paint, knowing if the surface is new or already painted is key. For new surfaces, we start by applying a good primer. This helps the paint stick better and makes the finish smooth. Doing this first step well leads to great painting results.
Older paint surfaces come with different issues. They might need to be stripped or fixed before we can prime them. It’s crucial to check the old paint’s condition. If it’s flaking or peeling, we need to scrape those parts off. By prepping old paint surfaces carefully, we make sure the new paint sticks well and lasts.
Understanding how to prepare new and old surfaces helps us paint properly. This knowledge lets us pick the best approach for the job. So, we can achieve a painting project we’re proud of.
Applying Primer for Better Adhesion
Applying primer is key to making paint stick better and last longer. It’s important to pick the right primer, as it affects the paint’s durability. Depending on what we need and the condition of our walls, we have different types to choose from.
Choosing the Right Primer for Your Walls
We need to think about water-based and oil-based primers. Water-based primers dry fast and are easy to clean. On the other hand, oil-based primers stick really well to tricky surfaces. Picking a primer that matches our paint type is important. For many, Plascon primers are a good choice because they work well with many projects.
Sealing with Plascon Bonding Liquid or Plaster Primer
Sealing surfaces with Plascon Bonding Liquid or plaster primer helps stop moisture. In places near the ocean, plaster primer is great. It can handle the moist air, keeping paint from failing. Before we start painting, let’s make sure to use primer. It’ll help our exterior walls look good and last a long time.
How to Sand Your Walls Smoothly
Sanding our walls makes them ready for paint. This step makes sure the paint sticks better and looks professional. We should pick the right sandpaper and clean up dust well.
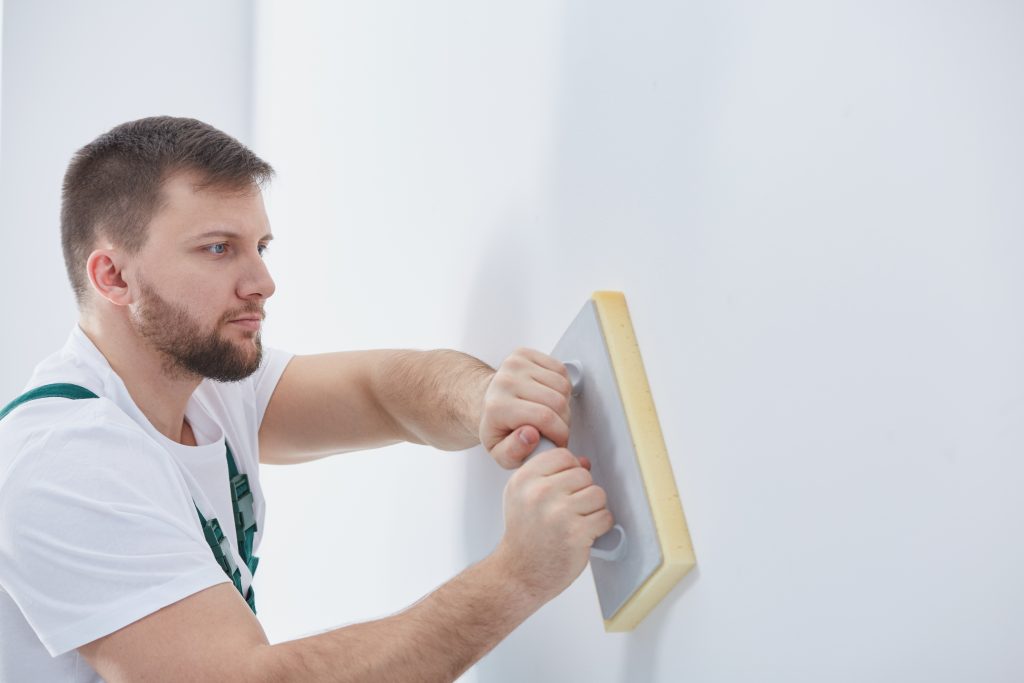
Choosing the Right Grit for Sandpaper
We need to choose the correct sandpaper grit. A 220-grit sandpaper works best for making surfaces smooth without harm. It gets rid of flaws but keeps the wall’s original quality. Remember to switch out the sandpaper often to keep it working well.
Dusting Off with a Damp Cloth
After sanding, it’s key to clean off the dust. Leftover dust messes with how well the paint sticks. Using a damp cloth picks up the dust well. This makes sure our walls are clean for painting or priming.
Exterior Walls for Painting in South African Homes
In South Africa, when we get our homes’ exterior walls ready for painting, there’s a lot to think about. Our weather, with its hot summers and rainy times, affects how we prepare and the paint’s look. It’s important to know what our walls need to make the paint last and look great.
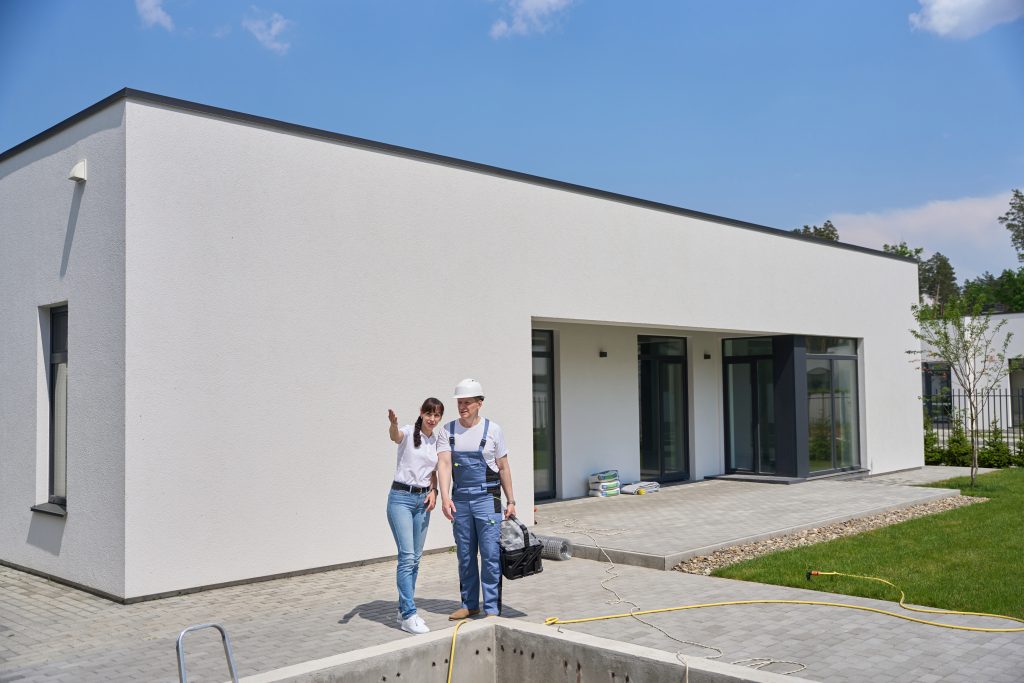
Walls made of different materials like plaster or brick each need a special way to paint them right. Before we start, we should check the walls closely for any damage. The sun’s strength and moisture in the air also play a big part in choosing the paint. This makes sure our paint job can handle the weather over time.
Remembering these points helps us set up well for painting. This way, we can make our homes look beautiful and stay strong, no matter the weather South Africa brings.
Final Preparations Before Painting
We can’t ignore how important the last steps are before we start painting. These steps make sure we get a smooth and great finish. They change how our home’s outside looks. It’s very important to cover well and check that surfaces are dry.
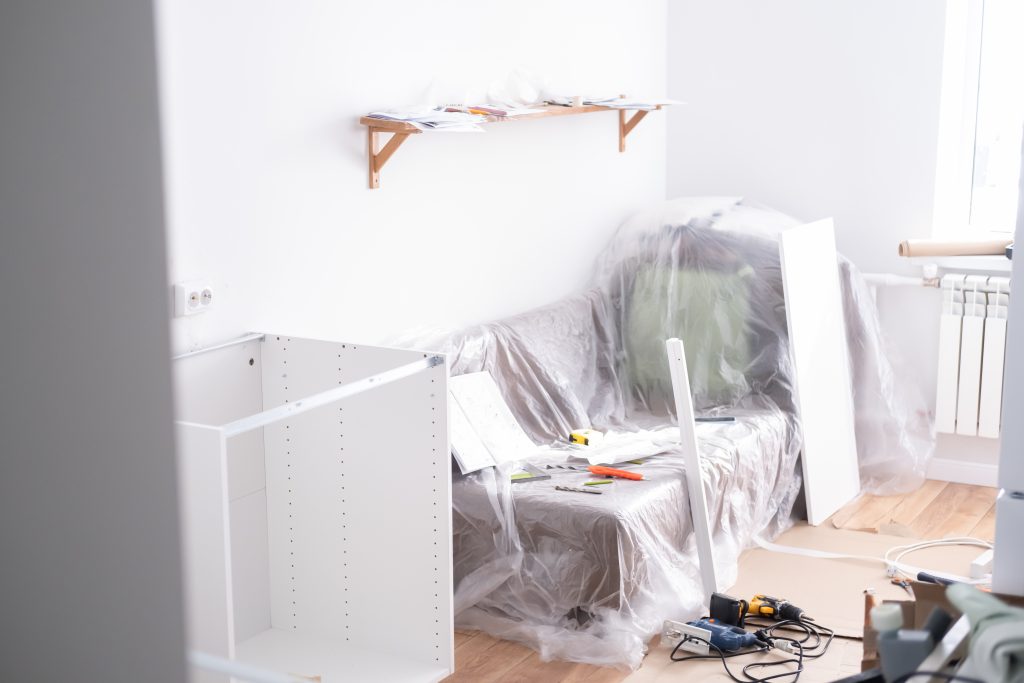
Masking and Protecting Areas Not to Be Painted
With painter’s tape, we can cover areas like windows, doors, and trim that shouldn’t get paint on them. Doing this carefully stops paint from going where it shouldn’t and makes the edges look neat. It’s key to stick the tape on well so our painting looks perfect.
Ensuring the Walls Are Completely Dry
Before painting, our walls must be dry. Clean and fix them, then wait at least 16 hours before painting. This wait is crucial because moisture ruins the paint job. Checking dryness helps us achieve a professional look.
Painting Techniques for a Professional Finish
To make our exterior walls look amazing, we need to learn various painting tricks. It’s important to pick methods that make our paint last and look great. A cool trick is cutting in around the trim and surfaces for a crisp edge, making the color pop.
Rollers are key for a good paint job too. When you roll paint in a ‘W’ shape, it spreads evenly over large spaces. This approach helps cover more area and avoids roller marks that could ruin a sleek finish.
For a super smooth finish, use top-quality paint and keep your tools in good shape. Choosing the right brushes and rollers for your paint type makes a big difference. With the right painting techniques, each room will shine, showing off your hard work and eye for detail.
Conclusion
Getting our outside walls ready for painting is super important. It makes sure our paint looks great and lasts long. We need to clean well, fix any damage, and put on primer.
If we use the best methods and materials, we’ll love how it looks and it will hold up over time. Prepping right means the paint sticks better and our homes in South Africa look better for longer. It helps make our places more beautiful and valuable.
So, let’s follow these steps when painting our homes’ outside walls. Putting in the work now means we’ll see amazing results later.
FAQ
Why is it essential to prepare my exterior walls before painting?
Preparing our exterior walls before painting is very important. It makes sure the paint sticks well and doesn’t peel off. It also leads to a smoother look and saves us both time and money by making our paint last longer.
What is the best time to paint my home?
The best time to paint the outside of our houses is during dry seasons in South Africa. Low humidity during these times helps the paint dry better and stick properly without being ruined by rain.
What tools do I need for preparing my exterior walls?
For preparing the walls, we need ladders, drop cloths, sandpaper of different roughness, scrapers, brushes, and rollers. Don’t forget the exterior paints and bonding liquids. A high-pressure cleaner can really help clean surfaces well too.
How do I clean my exterior walls effectively?
To clean our walls well, we use water and mild detergent, like sugar soap, to wash away dirt and mildew. It’s key to rinse the walls fully and let them dry totally before we start painting.
What steps should I take when repairing damages on my walls?
First, look over your walls for any cracks, holes, or peeling paint. Use exterior crack filler to fill in any damage and a scraper to get rid of loose paint. This makes a strong base for the new paint.
What is the difference in preparation between new and existing surfaces?
New surfaces usually need a primer to stick the paint well, while old surfaces might need fixing first. Knowing this lets us prepare in the right way.
How should I choose the right primer for my walls?
Select a primer that fits the condition of your walls and the kind of paint you’re using. Choices like Plascon Bonding Liquid or Plaster Primer work great for areas that get moist, improving the paint’s stickiness and lifespan.
How do I effectively sand my walls before painting?
We need to use fine-grit sandpaper, about 220-grit, to smooth the walls. After sanding, wipe the walls down with a wet cloth. This ensures no leftover dust messes with the paint’s ability to stick.
What final preparations should I conduct before painting?
Before we start painting, we have to cover parts we don’t want painted, like doors and windows, with painter’s tape. And, we must make sure the walls are fully dry after cleaning and fixing them for the best finish.
What painting techniques can help achieve a professional finish?
Professional-looking walls come from using good painting techniques. Cutting in edges and rolling paint in a W shape help avoid marks. These methods contribute to a smooth, even layer on our exterior walls.