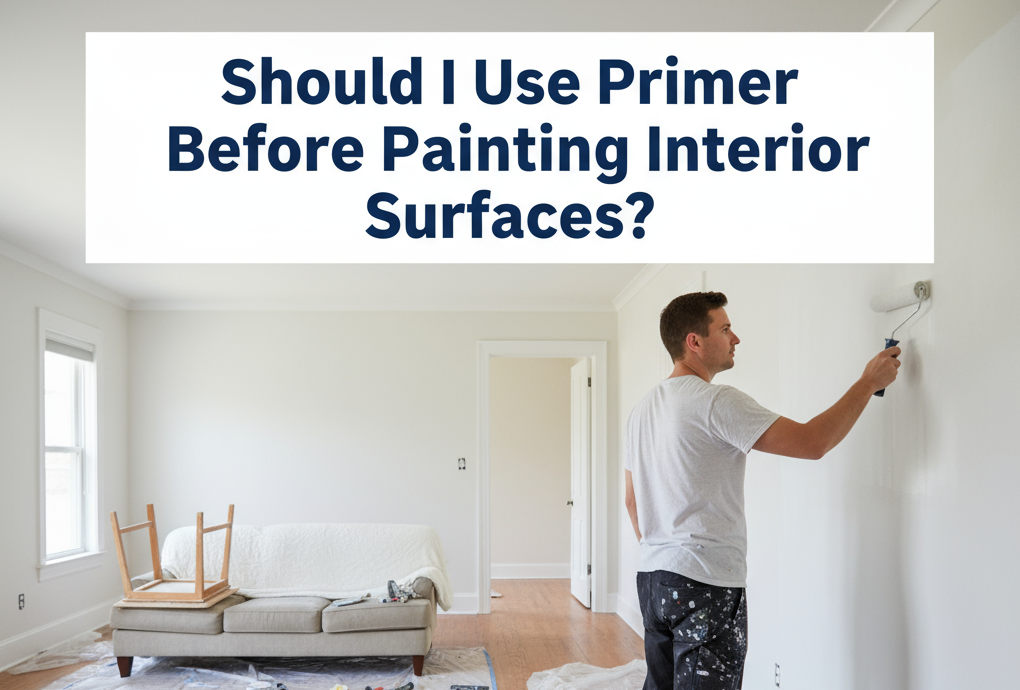
When thinking about painting the inside of our homes, we often wonder: should we use primer? Exploring this question, we find out how vital primer is. It serves as a base layer, making paint stick better and last longer. This leads to a smoother look.
We’ll look at the different types of primer and what they do. We’ll also learn how to get our surfaces ready. Knowing if we need primer can really make our paint job look better and last longer.
Understanding the Purpose of Primer
When painting interior surfaces, knowing about primer is key. Primer is the base for our paint, bringing many benefits for a great finish.
What Does Primer Do?
Primer does a few main things. It blocks stains, covers up blemishes, and makes the surface even for painting. By asking what does primer do, we learn it makes colors pop and the paint last longer. This prep work makes our project look professional.
Benefits of Using Primer
Primer offers more than just looks. It helps paint stick better to surfaces, which means less paint is needed. This leads to a smoother finish and fewer coats of paint. Using primer saves us time and money, making painting easier.
Types of Primer Available

We have many types of primer to choose from, depending on our painting needs. Knowing the differences helps us get the best results for our projects.
Water-Based Primers
A water-based primer is great for most indoor jobs. It’s usually latex-based and easy to clean up with soap and water. It dries fast and makes a smooth surface for painting.
It works well on many surfaces, giving a strong base for our paint.
Oil-Based Primers
For tough jobs, an oil-based primer is the best choice. It’s good at blocking stains and odors. It sticks well to surfaces, helping paint adhere better.
Cleaning up needs solvents, but the benefits are worth it.
Specialty Primers
Specialty primers tackle specific project challenges. For example, masonry primers work on porous surfaces, improving adhesion and finish. Stain-blocking primers are good for areas that get water or smoke damage.
When to Use Primer
Knowing when to use primer is key to a great paint job. It’s important during the prep stage. Primer helps our paint last longer and look better by interacting with surfaces right.
Painting New Drywall
Starting with new drywall means primer is a must. New drywall soaks up paint unevenly, making a smooth finish hard. A good primer seals it, giving paint a solid base.
This step saves us from extra touch-ups later.
Repainting Existing Surfaces
Repainting surfaces? Think about their condition and old paint. Big color changes or different finishes need primer for an even base. Without it, we might end up with a patchy look.
Dealing with Stains
Stains from water or smoke? Primer is a must. Stain-blocking primers keep stains from showing through. This keeps our finish looking good and prevents flaws.
Painting Interior: The Role of Primer

When you’re getting ready to paint the inside of your home, knowing how important a primer coat is can make a big difference. It helps the paint stick better and prevents it from soaking into the surface. This is key for a finish that lasts.
Enhancing Paint Adhesion
A primer coat is key for making paint stick to surfaces. It acts as a shield, preventing paint from peeling or fading. Using a good primer makes the paint job look better and last longer.
Reducing Paint Absorption
Primer also stops paint from soaking into surfaces like drywall or wood. This means the paint goes on evenly and stays true to its color. It makes your paint job look better and saves you from needing to apply paint multiple times.
Preparing Surfaces for Primer
Getting surfaces ready for primer is key to a smooth finish. This means cleaning walls and fixing any damage. Doing this well now helps us get the best results later.
Cleaning and Repairing Walls
First, we need to clean walls before applying primer. This removes dust, dirt, and grease. It makes the primer stick better and improves the paint job’s look.
If there are cracks or holes, we must fix them with spackling compound. Waiting until after cleaning and fixing ensures the primer sticks well.
Protecting Surrounding Areas
It’s also important to protect areas around our work. We use painter’s tape and drop cloths to avoid spills and stains. This keeps our workspace clean and makes painting more fun and efficient.
Application Techniques for Primer

The way we apply primer greatly affects our painting project’s success. We have different methods, like using rollers vs brushes, each with its own benefits. Knowing these techniques helps us get a perfect finish and ensures we cover everything well.
Using Rollers vs. Brushes
Many painters debate whether to use rollers or brushes. Rollers are great for big areas, saving time. They spread primer evenly over large surfaces. Brushes, though, are better for corners and detailed spots where precision matters. They let us control the application, making sure every area is covered, even the tricky ones.
Applying Multiple Coats of Primer
Often, we need to apply more than one coat of primer for the best results. This is true when covering stains or dark colors that might show through the paint. Following the drying times recommended by the manufacturer helps improve coverage and paint durability. Multiple coats also ensure a uniform finish, which is key for a good look.
Cost Considerations
When we plan our painting projects, knowing the costs is key. At first, primer might seem like an extra expense. But, the long-term gains are often worth it. Looking at primer prices shows they can save us money in the long run.
Comparing Primer and Paint Prices
When we compare primer and paint prices, we see a gallon of primer covers 250 to 400 square feet. This makes it a smart choice. It means we might not need as much paint, saving us money on materials and labor.
Using primer also means less money spent on paint maintenance and repainting later on.
Long-Term Benefits of Using Primer
Primer makes our paint last longer. It helps paint stick better and prevents peeling or chipping. This saves us money on repairs in the future.
Primer also makes painting easier, leading to a smoother finish. This can make our paint job last longer. Seeing these benefits shows why primer is a smart choice for our painting projects.
Impact on the Final Finish

Primer plays a big role in the quality of our painting projects. It creates a solid base and improves the finish. This is key for a professional look.
Achieving a Uniform Surface
Priming helps make surfaces even, reducing imperfections. Without it, colors and sheens might not match, causing an uneven finish. A primed surface ensures a smooth base for the topcoat, leading to a polished look.
Preventing Color Bleed Through
Primer is also important for stopping color bleed through. This is critical when using stains or dark colors. By priming, we help our paints stay vibrant and maintain their integrity. This ensures a strong impact on the final finish of our spaces.
Common Misconceptions About Primer
In the world of painting, many myths surround primer. One common belief is that every painting project needs primer. Knowing when primer is really needed can improve our painting quality.
Do All Painting Projects Require Primer?
Not every project needs primer. If we’re painting over surfaces that are already painted and look good, we might not need extra primer. Using paints that have primer in them can also skip this step without losing quality.
The Myth of Paint and Primer in One
Paint and primer in one products seem convenient. But, they might not work as well as separate primers. For tough surfaces, using only these products might not give the best results.
Choosing the Right Primer for Your Project

Choosing the right primer is key to a great paint job. It’s about matching the primer to the surface type for a lasting finish. Different surfaces like drywall, wood, and masonry need special primers for the best adhesion and look.
Matching Primer to Surface Type
Understanding each surface is important when picking a primer. For example, new drywall needs a water-based primer for a smooth finish. Wood surfaces, on the other hand, need an oil-based primer to seal and prevent knots from showing.
By thinking about these details, we can make our paint job look better and last longer.
Consulting with Paint Professionals
Getting advice from paint experts can really help. They know which primers work best for different surfaces and conditions. Their advice ensures we pick top-quality products, making our painting project a success.
Primer Drying and Curing Times
Knowing how long primer takes to dry is key for great painting results. Many things can change how fast it dries. Things like temperature, humidity, and air flow are important.
If these aren’t right, we might see problems like peeling or bubbling later.
Factors Affecting Drying Times
Here are the main things that can change drying times:
- Temperature: Warmer air makes it dry faster.
- Humidity: More moisture means it takes longer.
- Air Circulation: Good air flow helps it dry quicker.
When to Start Applying Paint
We should wait until the primer is fully dry before painting. It’s important to follow the drying times given by the maker. This ensures the primer sticks well.
Look for signs like a surface that feels dry but not sticky. Doing this helps our paint last longer and look better.
Conclusion
Understanding primer importance is key to a successful painting project. Primer helps paint stick better, covers imperfections, and makes surfaces even. This greatly improves the final look of our work.
Choosing the right primer and applying it correctly is essential. It leads to a more lasting and attractive finish. This makes our painting efforts worthwhile.
While primer adds a step to painting, it’s worth it in the end. Knowing when and how to use primer makes our painting better. It helps our interior surfaces stay beautiful for a long time.
By using primer, we can create amazing spaces that show off our style and quality. Let’s paint our interior surfaces with the knowledge and care for lasting satisfaction.
FAQ
Do I really need a primer before painting interior surfaces?
Yes, primer makes paint stick better and last longer. It gives a smoother finish.
What are the benefits of using primer on porous surfaces?
Primer stops paint from soaking in. It makes the paint look even and saves time and money.
What types of primers are available for different surfaces?
There are many types. Water-based primers work well indoors. Oil-based ones block stains. There are also special primers for tough surfaces.
When should I use primer when repainting existing surfaces?
Use primer for big color changes or stains. It helps the paint look even and prevents stains from showing through.
How does primer enhance paint adhesion?
Primer makes the surface ready for paint. This helps the paint stay on better and not fade or peel.
What steps should I take in preparing surfaces before applying primer?
Clean the walls first. Fix any damage. Then, cover the area with tape and cloths to protect it.
Is it better to use rollers or brushes for applying primer?
Rollers cover big areas fast. Brushes are better for small details. It depends on the job.
What are the cost considerations when using primer?
Primer might seem expensive at first. But, it can save money by needing less topcoat paint.
How does primer affect the final paint finish?
Primer makes the surface even. It stops stains and color from showing through.
Does every painting project require primer?
Not always. If the surface is already painted well or uses paint with primer, you might not need extra primer.
How can I choose the right primer for my project?
Pick a primer that matches the surface. Talking to paint experts can help a lot.
What factors impact the drying and curing times for primer?
Temperature, humidity, and air affect drying times. Always follow the primer’s instructions for best results.
When is the best time to start applying paint after using primer?
Wait until the primer is fully dry. This ensures the paint sticks well and looks good.