

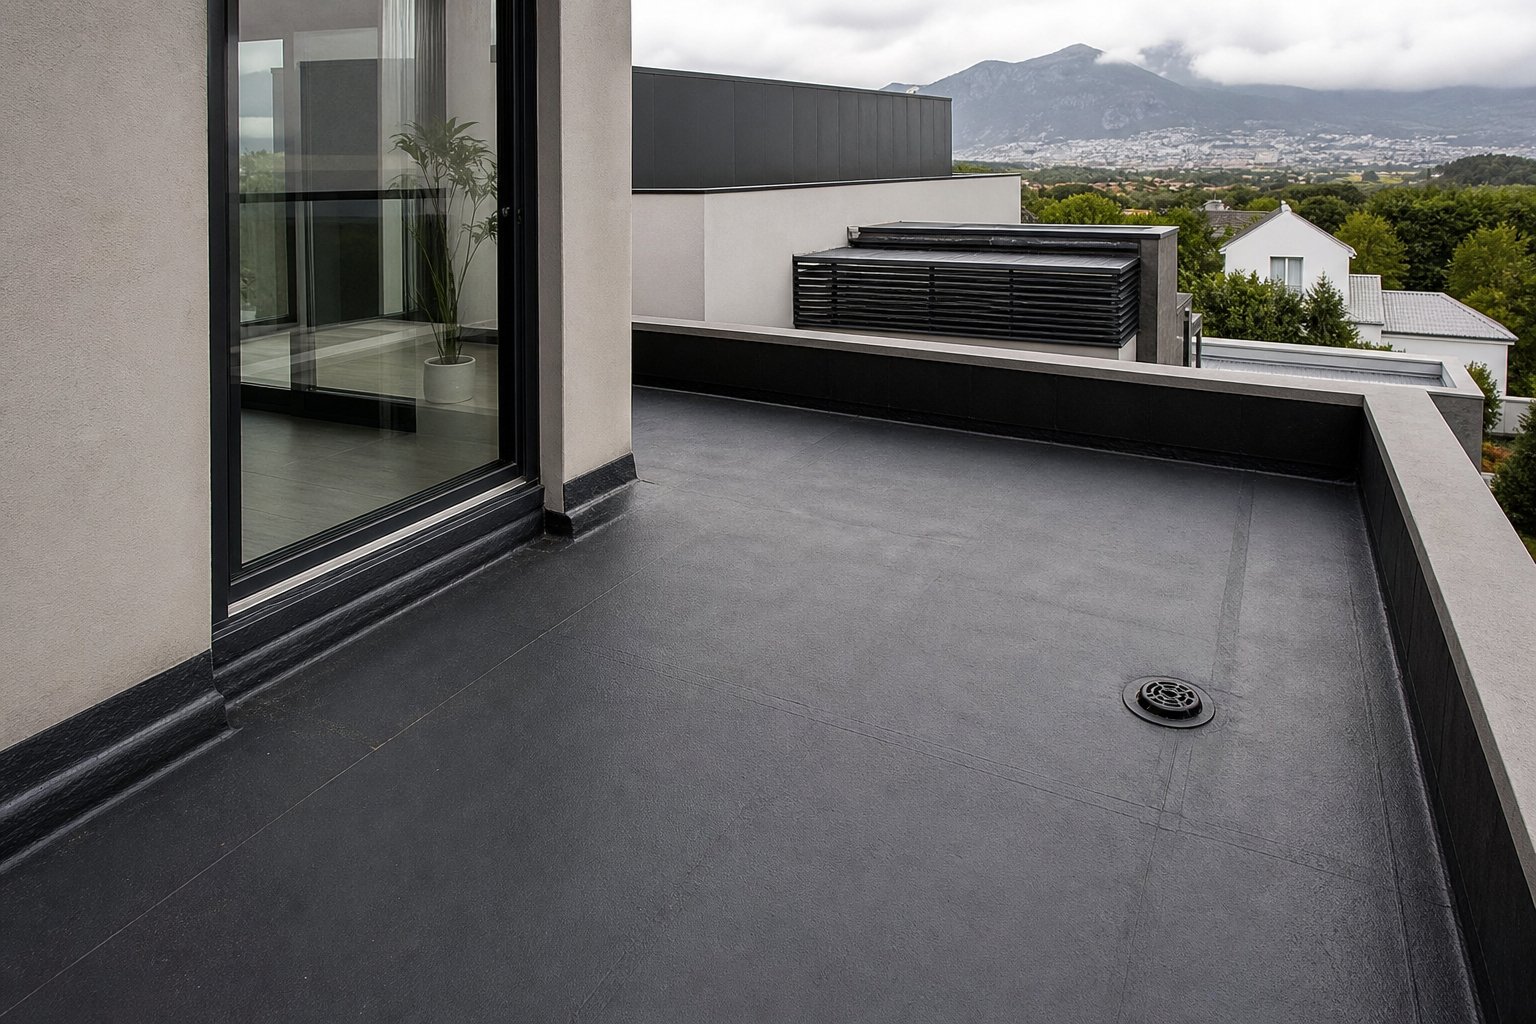
Cape Town’s winter rain has a way of exposing small weaknesses around flat roofs, balconies and parapets. The visible damp patch indoors is often some distance from the actual entry point, which makes guesswork expensive. A useful inspection follows the path water is likely to take: across the surface, towards an outlet, into a junction or through a failed edge detail.
Why these areas are vulnerable in a Cape winter
A pitched roof is designed to shed water quickly. A flat or low-slope surface drains more slowly, so outlets, falls and waterproofed junctions have to work together. Wind-driven rain can also push water against upstands, parapet walls and door thresholds rather than allowing it to fall straight down.
Balconies add another layer of complexity. They may sit above a room, connect to sliding doors and carry tiled finishes, balustrade posts or drainage outlets. Each change in material and direction creates a detail that needs careful treatment. Parapets are similarly exposed on their tops and both faces. A crack or unprotected coping joint can admit water that later appears inside the building.
That is why effective waterproofing in Cape Town begins with finding the entry route and the conditions that caused it. Simply coating the visible damp area from below does not stop rain entering from above.
Common leak starting points
The centre of a waterproofed surface is not always the first place to fail. Leaks frequently begin at interruptions, edges and connections. During an inspection, pay close attention to the following:
- Rainwater outlets and overflows: Debris, weak seals or a poorly formed transition into the outlet can leave water standing around the opening.
- Wall-to-floor junctions: Movement occurs where horizontal and vertical surfaces meet. A sharp, cracked or poorly reinforced junction is a common entry point.
- Parapet tops and copings: Open joints, hairline cracks and flat tops without an effective water-shedding detail can allow repeated saturation.
- Door thresholds: Low thresholds, deteriorated seals and inadequate falls can direct balcony water towards the interior.
- Balustrade and service penetrations: Posts, pipes, conduits and fixings interrupt the waterproofing layer. Failed seals around them may admit water.
- Cracks and previous patches: A patch may cover one symptom while movement continues at its edges. Cracks need to be assessed and prepared before recoating.
- Changes in level or material: Screed, tiles, plaster, metal and masonry expand differently. Their junctions need compatible detailing.
Visible blistering, peeling paint, white salt deposits and dark damp marks can help map the problem. These signs do not, by themselves, prove the source. The exterior route still needs to be checked.
How water travels before a stain appears
Water does not necessarily drip straight through the point where it enters. It can move beneath tiles, follow a screed crack, track along a slab or run behind plaster. Gravity then brings it out at a joint, light fitting or low point. This is why an interior stain below a balcony door may have started at an outlet or parapet several metres away.
Moisture can also build up gradually. A wall that absorbs rain over several wet days may remain damp after the weather clears. Repainting too soon can trap moisture and lead to bubbling or flaking. If the symptom is rising from ground level or persists without rain, the cause may require a different damp-proofing approach.
Before work is specified, note when the leak appears, which wind direction accompanied the rain and how quickly the area dries. Photographs taken during and after rain are useful. This evidence helps distinguish a rain-entry problem from plumbing, condensation or another moisture source.
A practical inspection checklist
| Area | What to look for | Why it matters |
|---|---|---|
| Flat roof field | Ponding, splits, bubbles, loose laps and worn coating | Standing water prolongs exposure and reveals weak drainage or falls |
| Outlets and overflows | Blockages, gaps, low spots and failed seals | Water concentrates here during heavy rain |
| Wall junctions | Cracked corners, short upstands and detached reinforcing | Movement and water pressure meet at the change in plane |
| Parapets | Open coping joints, cracks, peeling paint and saturated plaster | Water entering at the top can travel down inside the wall |
| Balcony finishes | Cracked grout, hollow tiles, failed perimeter joints and poor falls | The visible finish is not always the waterproofing layer |
| Penetrations | Loose collars, cracked sealant and unsealed fixings | Small openings can admit substantial wind-driven rain |
Safety matters. Wet roofs and balcony edges are hazardous, and some areas may not be safely accessible without specialist equipment. A property owner can record visible symptoms from a safe position, but inaccessible or structurally questionable areas should be assessed by an appropriately qualified specialist.
What a sound waterproofing scope should include
A useful scope is more specific than “seal the roof”. It should identify the area, preparation, crack and junction treatment, waterproofing system, number of coats where relevant, curing conditions and how adjacent finishes will be reinstated. It should also state whether tiles, screed or old failed material must be removed to reach the actual substrate.
Preparation is central to the result. Loose coatings, dust, algae and unsound plaster can prevent adhesion. Cracks and damaged plaster need appropriate repair rather than being hidden under a new film. CDC Painters’ crack repair and plaster preparation service explains the importance of creating a stable surface before decorative work follows.
Different surfaces and details may require different compatible materials. A flexible reinforced treatment at a junction does a different job from a protective coating on an exposed wall. The chosen method should follow the substrate condition and product instructions, not a one-product-for-everything assumption.
Allowing the surface to dry and respecting curing windows is equally important. Starting shortly before rain, coating a saturated substrate or returning the area to use too soon can undermine otherwise careful work.
Repainting after the leak is resolved
Waterproofing and repainting are connected but separate stages. First stop the entry route. Then allow the affected material to dry, remove loose paint and repair damaged plaster. Staining may need appropriate preparation before finish coats are applied. Painting over a damp wall can produce a neat appearance for a short time while the defect continues underneath.
Exterior walls and parapet faces also need compatible preparation and coatings after repairs. See CDC Painters’ exterior painting services for the broader sequence from surface preparation to finishing. Where roof coatings are part of the maintenance plan, the roof painting service covers a different protective task from repairing a failed waterproofing detail.
A final inspection should check outlets, edges, junctions and repaired penetrations, not only the broad coated area. Keep dated photographs and the work scope with the property maintenance records. For an assessment of accessible painting and waterproofing work, contact CDC Painters.
Frequently asked questions
Can cracked balcony grout cause a leak?
Cracked grout can admit water, but grout is not always the primary waterproofing layer. The underlying membrane, perimeter junctions, outlets and penetrations should also be inspected before deciding that regrouting alone will solve the problem.
Why does a flat roof leak only during wind-driven rain?
Wind can push rain against parapets, upstands, flashings and door thresholds that remain relatively dry in vertical rain. Recording the wind direction can help narrow the inspection area.
Can waterproofing be applied over an old coating?
Only if the existing coating is compatible, well bonded and properly prepared. Loose, brittle or contaminated material may need to be removed. The substrate condition and the waterproofing manufacturer’s instructions should guide the decision.
How soon can an interior wall be repainted after a leak?
There is no single waiting period. The leak must be stopped and the substrate allowed to dry sufficiently for the selected repair and paint system. Conditions, wall thickness and the extent of saturation all affect drying.
More practical roof, damp and waterproofing guides
Continue with closely related guidance, then review the relevant Cape Town service page.
Discuss your painting requirements
Review CDC Painters services or request a project-specific quotation.