

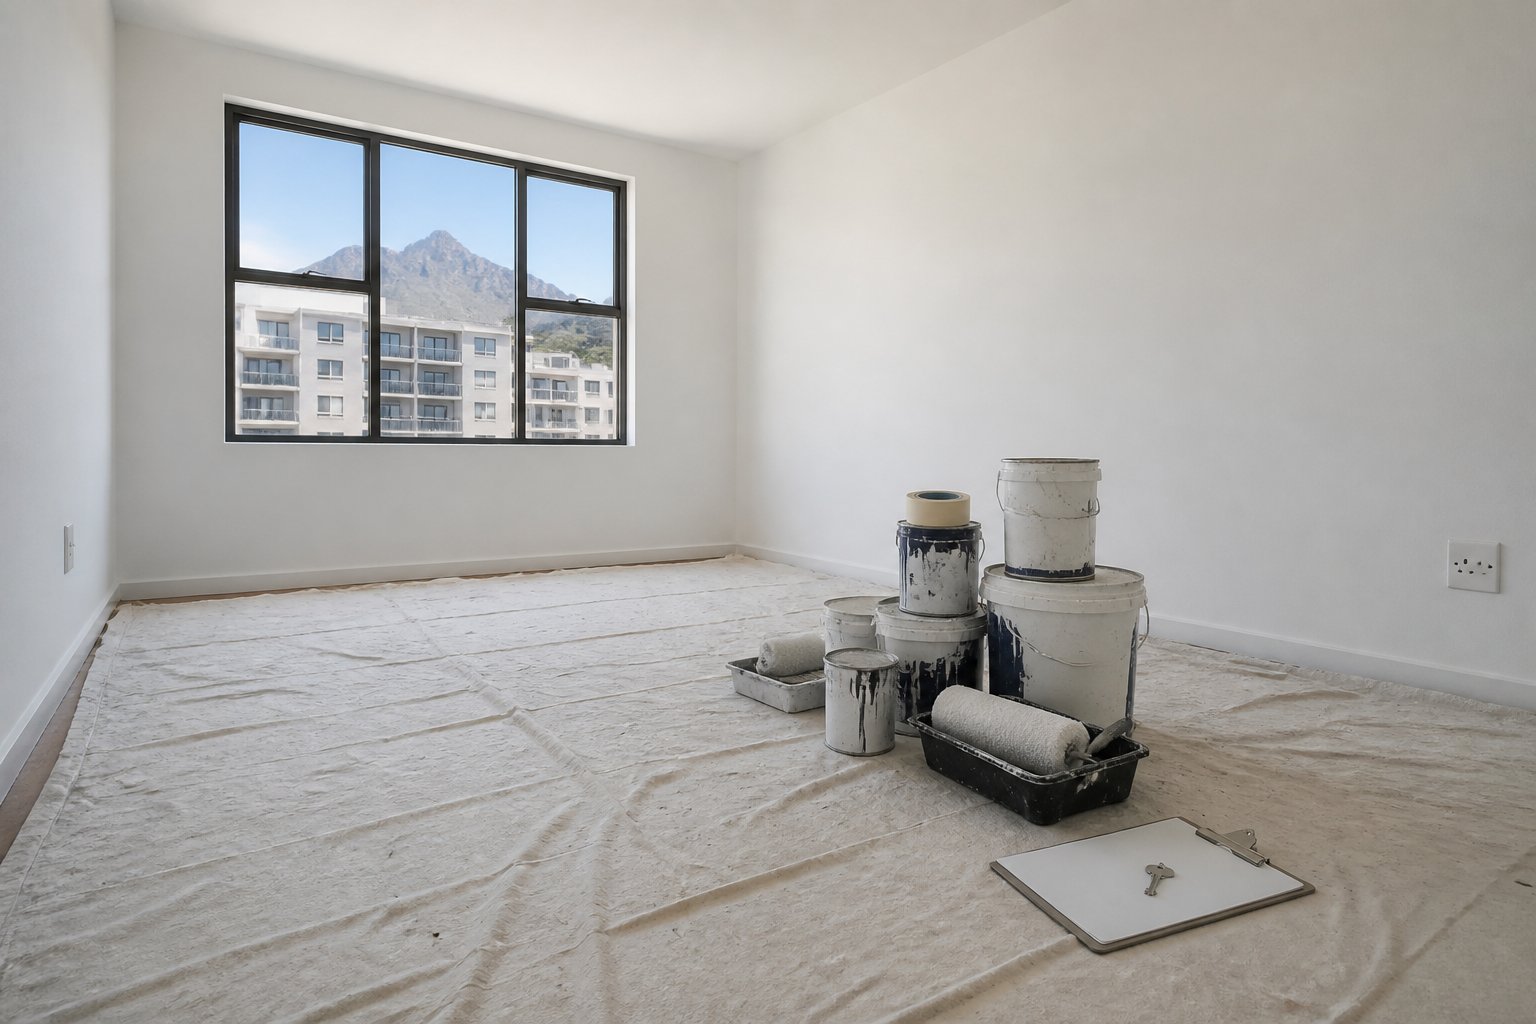
The gap between tenants is a useful time to repaint a rental, but an empty property does not automatically need a full new coat. A systematic inspection helps landlords separate fair wear, cleaning issues, tenant damage and building defects. It also produces a clearer scope, reduces rushed decisions and makes the finished condition easier to record before the next tenant moves in.
Record the starting condition before work begins
Photograph every room in good daylight before cleaners or painters start. Include wide room views and close-ups of stains, chips, holes, cracks, peeling paint and damaged trim. Label images by room and retain the incoming and outgoing inspection records. This article is a practical painting guide, not advice on how a deposit should be handled; lease obligations and deposit deductions should be checked against the applicable agreement and South African rental requirements.
Walk through with a simple room schedule. Note the wall colour and sheen, ceiling condition, doors, frames, skirtings, cupboards and any exterior surfaces included in the lease. Check behind movable furniture and curtains where possible. A written record prevents small items from disappearing into a vague instruction to “repaint everything”.
First test whether cleaning will restore the finish. Finger marks, light dust and some surface grime may wash off a suitable coating. Scrubbing a low-quality or flat finish can burnish it, however, so test a discreet area. Where the coating is sound but marks remain, compare a local touch-up with repainting the full wall to a corner.
Identify defects that paint cannot fix
Do not schedule finish coats until the cause of visible damage is understood. Bubbling paint, mould, brown ceiling marks, powdery salts and damp skirtings can indicate condensation, plumbing problems or water entering through the building envelope. Painting over them creates a short-lived result and hides information the contractor needs.
Mark each defect as clean, repair, monitor or refer. CDC Painters provides damp-proofing services in Cape Town, but not every moisture mark has the same cause or treatment. Suspected plumbing leaks, roof leaks or structural movement may require the relevant specialist before painting continues.
Cracks need the same care. Fine, stable surface cracks and local plaster damage may form part of paint preparation, while wide, moving or repeatedly repaired cracks call for further assessment. Review the scope of crack repairs and plaster preparation rather than asking for all cracks to be covered with paint.
Decide between cleaning, touching up and repainting
| Condition | Likely action | Check before approval |
|---|---|---|
| Sound coating with light dirt | Clean and reassess | Can the finish be washed without burnishing or colour loss? |
| One or two minor marks | Test a touch-up | Does the stored paint still match in colour and sheen? |
| Numerous patches or repairs | Repaint the full wall | Will a natural corner-to-corner break avoid patchiness? |
| Widespread wear or colour change | Repaint the room or connected area | Are preparation and the number of coats clearly scoped? |
| Peeling, damp or unstable substrate | Investigate and repair first | Has the underlying cause been corrected and allowed to dry? |
Touch-ups are most successful when the original product, colour, batch information and sheen are known, and when the existing coating has not faded or been polished by cleaning. Even then, side lighting can make a patch visible. If a trial does not blend after drying, repaint the complete wall rather than adding increasingly large patches.
In open-plan properties, decide where each painted area will stop. A colour change at an arbitrary point can look unfinished. Corners, door openings and other natural breaks allow a cleaner transition when the budget or vacancy period does not permit a complete interior repaint.
Use a room-by-room landlord checklist
- Entrance and passage: check hand marks, luggage scuffs, door edges, frames, skirtings and the inside of the front door.
- Living areas: inspect behind televisions and furniture, around switches, above heaters and along curtain lines. Look across walls in side light for raised filler and patchy sheen.
- Bedrooms: remove approved hooks and adhesive residue, fill holes, inspect cupboard surrounds and check for condensation or mould behind furniture.
- Kitchen: clean grease before assessing paint, especially above cooking areas. Inspect ceilings, wall edges, doors and frames. Treat cabinet coating as a separate specialist scope rather than ordinary wall painting.
- Bathrooms: examine ceilings and upper walls for condensation, mould and peeling. Confirm that ventilation and water-related defects are dealt with before coating.
- Utility areas: check laundry walls, garage surfaces and storerooms for impact damage, moisture and incompatible previous coatings.
- Exterior areas: where included, inspect entrance walls, balconies, boundary walls and exposed trim for chalking, cracks and flaking.
For occupied residential finishes and room-specific preparation, use the interior painting service page to frame questions for the scope. If exterior areas are part of the turnaround, assess them separately through an exterior painting inspection; weather exposure and substrate condition create different preparation requirements.
Specify durable colours and finishes without overcomplicating them
A small, recorded palette makes future maintenance easier. Keep the exact brand, product name, colour code, sheen, room allocation and purchase date in the property file. Colour names alone are not always enough. Label any safe, usable leftover paint clearly and store it according to the manufacturer’s instructions.
Neutral colours can help rooms connect and make isolated future repairs simpler, but durability and cleanability matter as much as shade. The appropriate sheen varies by substrate, room use and desired appearance. Higher sheen is not automatically better: it can make preparation defects more visible. Ask which coating is intended for ceilings, walls and trim, and whether it suits kitchens, bathrooms or frequently cleaned passages.
If several units or common areas are being maintained together, a standard colour schedule can reduce confusion. Larger shared-property programmes have different access and communication needs, which are covered under body-corporate painting.
Sequence the vacancy period and inspect the result
Confirm access, electricity, water, keys and alarm arrangements before the start date. Remove tenant belongings and identify landlord fixtures that must remain. A sensible sequence is defect investigation, remedial work, drying, plaster and crack preparation, sanding and dust removal, painting, curing, final cleaning and inspection. Avoid booking photography or move-in for the moment the final coat is expected to be applied.
The written quotation should identify rooms and surfaces, preparation, repairs, coating system, exclusions and responsibility for moving or protecting items. CDC Painters’ overview of painting services in Cape Town can help distinguish interior, exterior and remedial items when building the scope.
At handover, inspect in daylight where practical. Check coverage, cutting-in, repaired areas, doors, skirtings, switch surrounds and floors. Confirm that windows, locks, hinges and fittings operate and that paint has not sealed moving parts. Photograph every room from the same angles used at the starting inspection, update the colour schedule and list any agreed snags in writing. To arrange a site-specific discussion, use the CDC Painters contact page.
Frequently asked questions
Must a rental be repainted after every tenant?
No. The decision should follow the coating’s condition, the lease context and the standard required for the next tenancy. Sound, washable walls may only need cleaning, while damaged, patchy or heavily worn areas may need a full-wall or full-room repaint.
Can a landlord use leftover paint for touch-ups?
Yes, if it remains usable and matches the original product, colour and sheen. First stir and test it in a discreet area. Ageing, fading and different application methods can still make a correctly labelled paint appear patchy after drying.
Should cleaning happen before or after painting?
Initial cleaning should happen before final scope approval so dirt is not mistaken for coating failure. Grease, mould treatment residue and loose contamination must be removed during preparation. A careful final clean follows after the coating has dried sufficiently.
How should mould be handled between tenancies?
Record it, identify whether condensation or water entry is contributing, address the cause and clean or treat the affected substrate appropriately. Do not simply coat over mould. Persistent or extensive moisture damage may need specialist investigation before repainting.
More practical interior and property planning guides
Continue with closely related guidance, then review the relevant Cape Town service page.
Discuss your painting requirements
Review CDC Painters services or request a project-specific quotation.